I stopped by the small-town Kansas Apple Market grocery store for a handful of items I would need for my lunches the coming week. I had read through earlier in the weekend the August 2024 issue of Food & Wine. I appreciated the simplicity of Jeremiah Tower’s Lobster Sandwich recipe featured at the end of the magazine in Andree Gosnell’s Lobster Sandwich article. Alas, lobster is not within my food budget. While I admired the Apple Market’s selection of Kansas’ own Fanestil Meats, I was thrilled to see packages of a west coast company’s Imitation Lobster beside the various packages of Imitation Crab. Imitation Lobster was well within my budget. I bought two.
I know Imitation Lobster is pollock. I read the ingredient list in the store. The back of the package read that less than 2% of the packaged fish is lobster. I am perfectly content, and greatly amused, to think that somewhere in a fish processing facility there is a faded picture of a lobster hanging crookedly in a dimly lit hallway which justifies the “Imitation Lobster” label. My science Ph.D. degree also tells me less than 2% is not statistically significant if we use the p-value of 0.01 instead of the standard p-value of 0.05.
Imitation Crab, and Imitation Lobster, also known as pollock, provide an important source of animal protein for budget-sensitive families and fixed-income people. Pollock as Imitation Crab can be sliced into noodles and added to spaghetti and cheese meals. The processed fish can chopped, mixed with diced and cooked onion, carrots, potatoes, and cream cheese, with 2 tablespoons of the mixture rolled inside 8-inch tortillas, then covered with green or red enchilada sauce. Pollock is a chameleon ingredient that can be whatever you want it to be.
For a no-coast version of Jeremiah Tower’s Lobster Sandwich, the first thing you need to do is go out to the garden or patio and pick the best tomato. Certain tomatoes are slicing tomatoes. Some are cooking tomatoes. You will know the difference. The tomato will be warm from the sun and afternoon heat. The red fruit will glow and feel heavy in the palm of your hand.
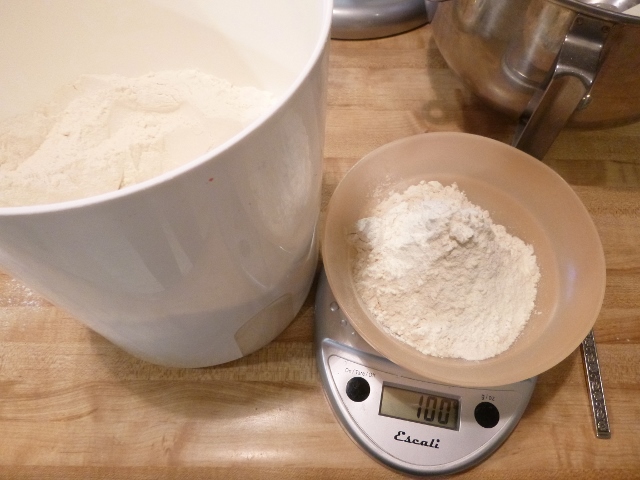
Once back in the kitchen, start the oven broiler. While the broiler heats, prepare the fish. Fold and shape aluminum foil into a shallow dish. Drizzle and smear olive oil over the bottom of your aluminum foil dish. Measure out a half-cup of fish, by weight or volume, for each sandwich. Drizzle lemon juice over the Imitation Lobster. Set the fish aside.
Soften 1 tablespoon unsalted butter per sandwich in the microwave. Spread the softened butter over two slices of Sara Lee’s Hawaiian Bread. Sara Lee’s Hawaiian Bread is not a bread I see every time I go to the grocery store. It freezes well so I always buy an extra loaf. It may be easier to spread butter on frozen bread. Sara Lee’s Hawaiian Bread is very soft, probably because of the potato flakes in the ingredient list.
Place the fish and butter-side-up bread under the oven’s broiler. You will need to watch the bread to prevent scorching. The fish will take longer to turn golden brown.
Once the toasted bread has cooled enough to touch, spread mayonnaise on the bread’s soft, untoasted side. I prefer to use homemade eggless mayonnaise for summer sandwiches. However, the recipe-suggested Hellmann’s mayonnaise is good, too. Because I have no idea where to obtain fresh chervil in rural Kansas, I used fresh parsley from my garden. I have added chervil to my December seed catalog list. The only way I can obtain many herbs used in finer recipe magazines like Food & Wine is to grow them myself.
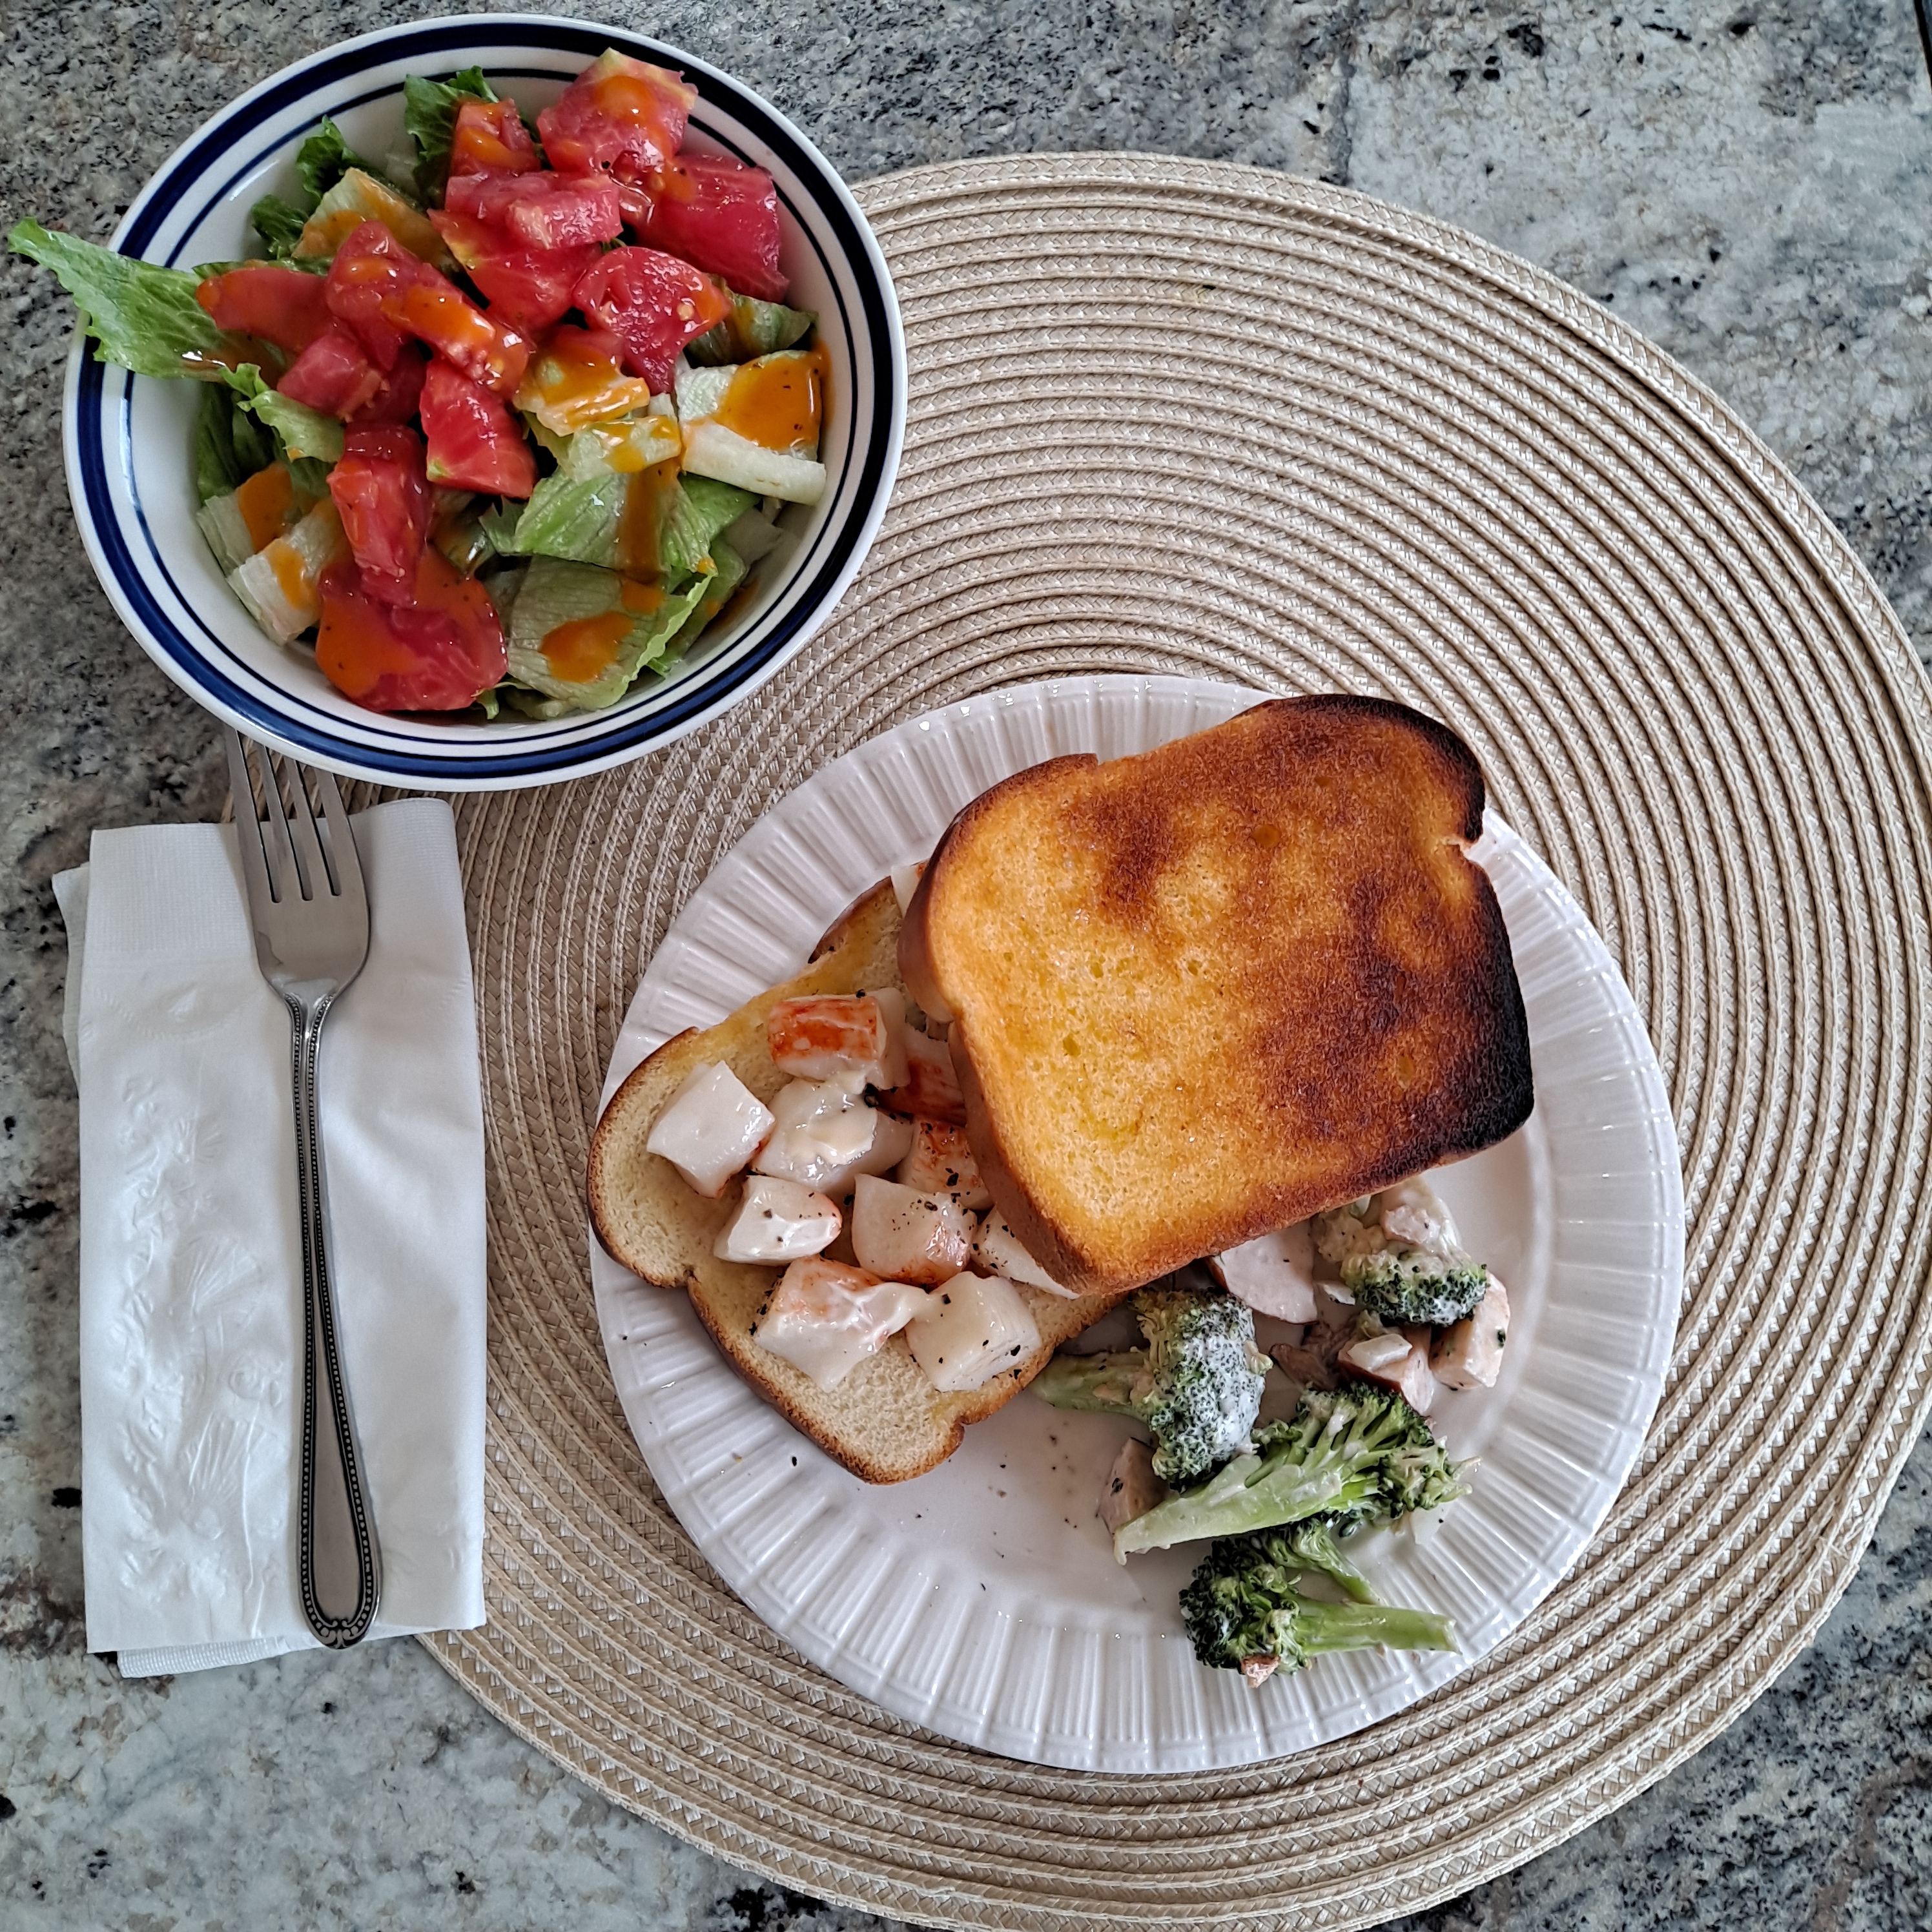
Build the sandwich with the warm Imitation Lobster on the soft side of a toasted bread slice. Sprinkle chopped parsley, a pinch of salt and a couple of twists of fresh ground black pepper over the fish. You could combine the Imitation Lobster, mayonnaise, salt, pepper, herbs, and a squeeze of lemon juice in a bowl, but then you have another bowl to wash.
I also dislike soggy bread caused by juicy tomato slices. A firmer bread toasted dry to absorb the tomato juice better serves well for a bacon, lettuce, and tomato sandwich. A seafood salad-type sandwich is best served on a sweeter, soft bread. The tomato slices can go on the side, or on a lettuce salad.
The sandwich goes well with a salad of lettuce and chopped, sun-warm tomato. Drizzle Dorothy Lynch homestyle dressing over the lettuce and tomatoes for a true no-coast, US Midwestern salad experience.
Jeremiah Tower’s Lobster Sandwich provides a good foundation for a seafood salad-type sandwich. I have used broiled shrimp in place of Imitation Lobster or Crab. I have also used baked catfish and breaded catfish. Baked cod is best served alongside sweet corn-hominy cream soup. Beer-battered cod needs a simple tartar sauce. The Lobster Sandwich recipe contains so much potential. Your imagination is your only limiting factor.
Recipe is here (I last visited the link 10/14/2024): https://www.foodandwine.com/jeremiah-towers-lobster-sandwich-8687394